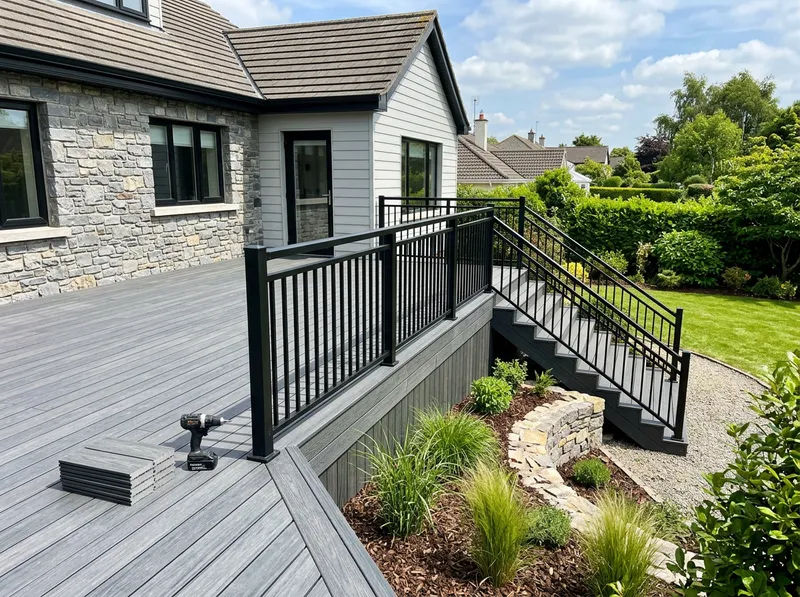
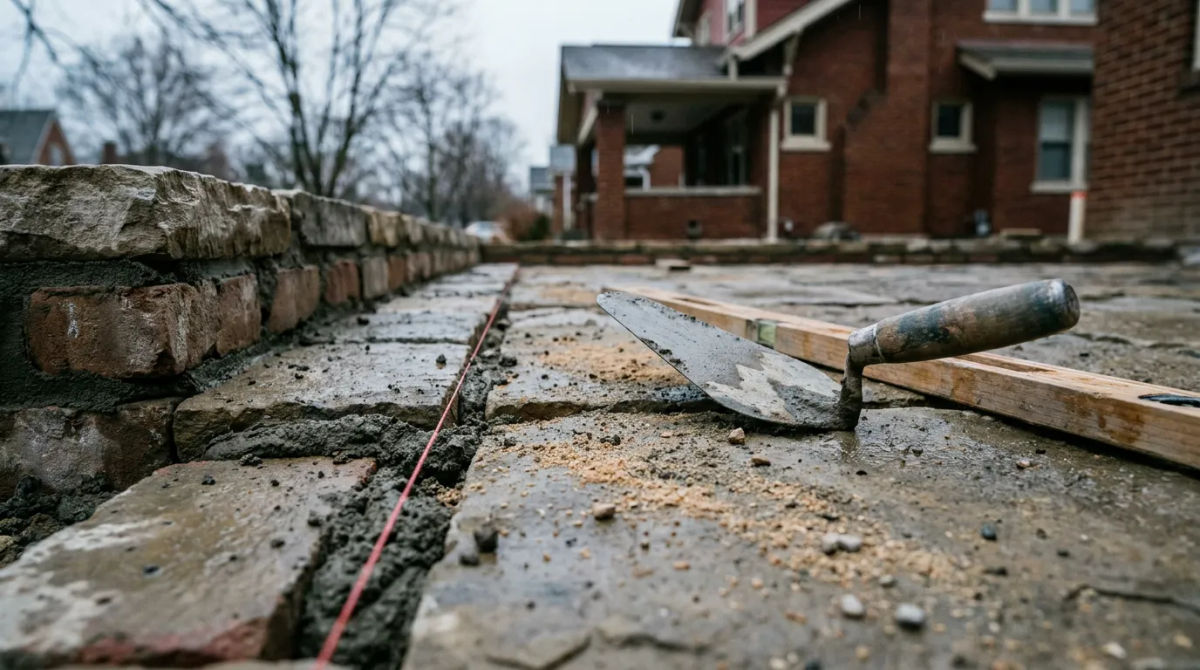
Columbus weather can be unpredictable, bringing heavy rains, strong winds, and winter storms that take a toll on local properties. A structurally sound roof is your first line of defense against these elements, protecting your investment and ensuring structural integrity.
Learn more
Painting
The shifting seasons in Columbus require high-quality exterior and interior finishes to maintain property value and aesthetic appeal. Professional painting not only revitalizes your space but also provides a crucial protective barrier against humidity and temperature fluctuations.
Learn more
Landscape
Maintaining an attractive and functional outdoor space is essential for properties throughout Columbus. Proper landscaping enhances curb appeal, manages local soil erosion, and creates inviting environments that thrive in the Ohio climate.
Learn more
Estimates
Planning a construction or landscaping project in Columbus requires precise budgeting and a clear understanding of material costs. Detailed, professional estimates provide the financial clarity needed to move forward with confidence and avoid unexpected expenses.
Learn more
Repair
Addressing structural and cosmetic damage promptly is vital for maintaining property safety and value in Columbus. Whether dealing with storm damage or general wear and tear, timely professional repairs prevent minor issues from escalating into major liabilities.
Learn more
Installation
High-quality installations are the foundation of any successful property upgrade in Columbus. From structural components to finishing fixtures, precise installation ensures longevity, compliance with local building codes, and optimal performance.
Learn more
Drywall
Flawless interior walls are essential for the aesthetic and acoustic quality of any Columbus building. Professional drywall installation and finishing provide the necessary structural backing and smooth surfaces required for premium paint and wall treatments.
Learn more
Tree Removal
Dead or structurally compromised trees pose a significant safety risk to properties and power lines during Columbus storms. Professional tree removal is necessary to mitigate these hazards and clear space for new construction or landscaping projects.
Learn more
Stump Grinding
Leftover tree stumps can harbor pests, create tripping hazards, and obstruct new landscaping efforts in Columbus yards. Complete stump removal through professional grinding is the most effective way to reclaim your property's usable space.
Learn more
Panel Flooring
Durable and attractive flooring is a critical component of any residential or commercial space in Columbus. High-quality panel flooring offers exceptional resilience against heavy foot traffic and changing indoor climates while elevating the property's interior design.
Learn more
Mowing
Consistent lawn maintenance is vital for preserving the health and appearance of properties across Columbus. A professionally mowed landscape not only projects a positive image but also deters pests and promotes robust, even turf growth throughout the season.
Learn more
Our Projects
Recent Activity in Columbus
Featured
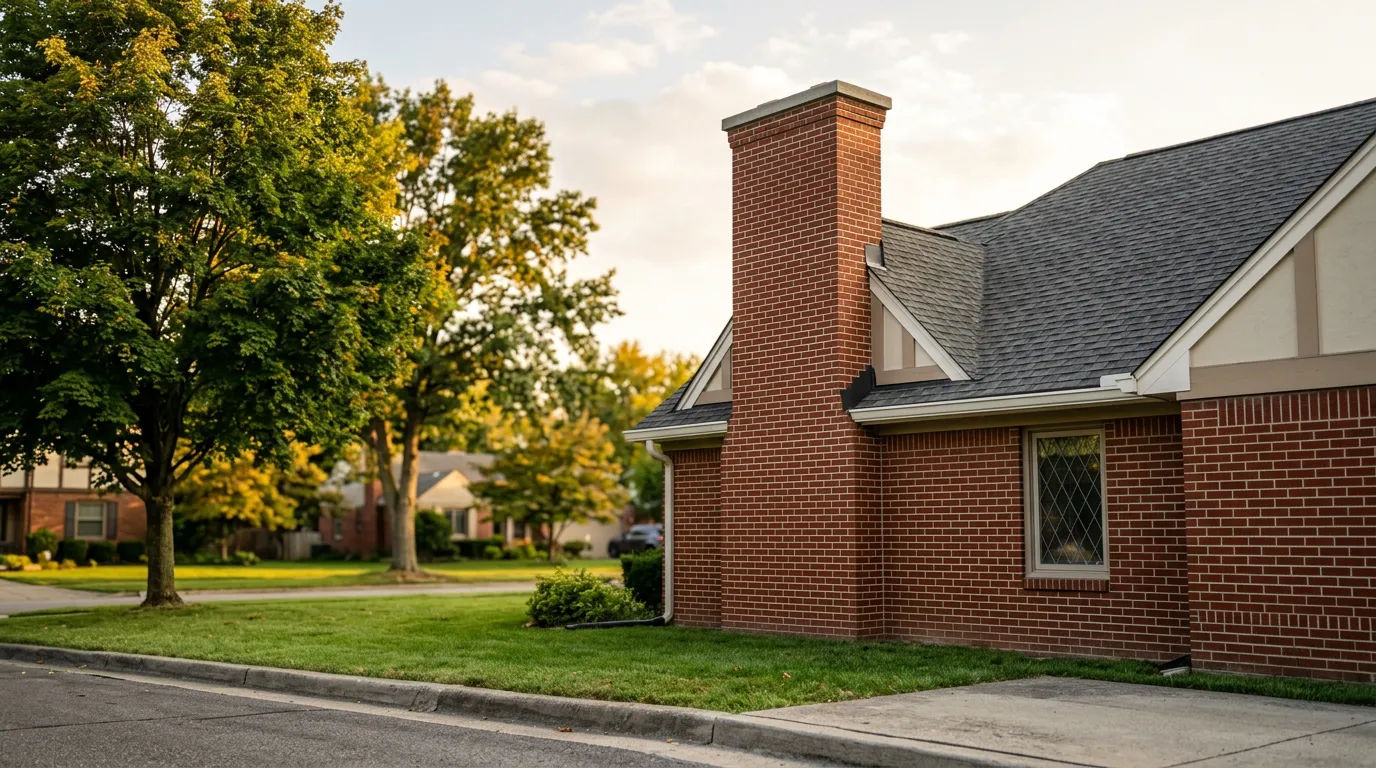
Case Study: Chimney Tuckpointing in Columbus Before Freeze-Thaw
Columbus freeze-thaw cycles and wind-driven fall rain can push water into failing mortar joints; once frozen, that moisture leads to brick spalling and bigger structural repairs. · Sep 14, 2026
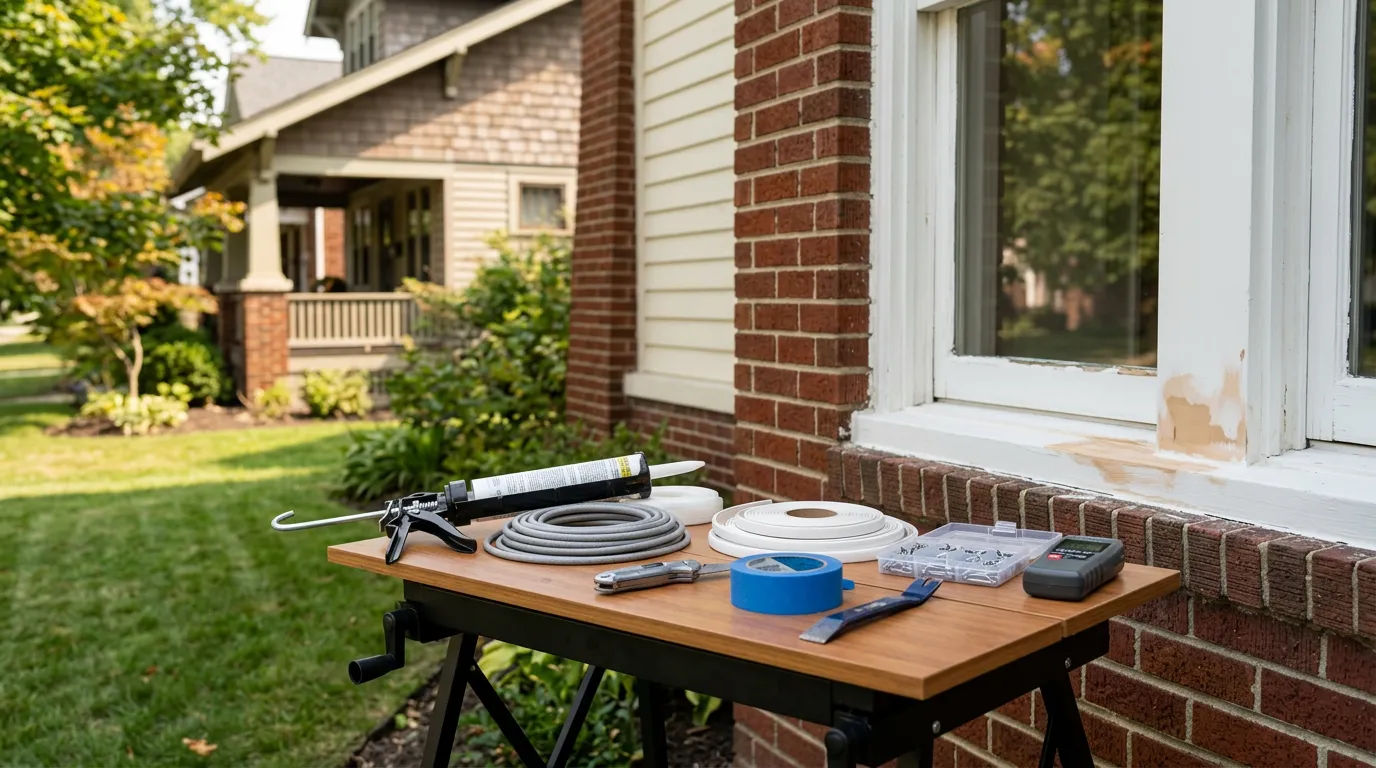
Window Caulking & Weatherstripping Costs in Columbus Before Winter
Central Ohio’s windy, damp fall weather exposes failed caulk lines; once temperatures drop, gaps around windows and doors become comfort and energy-loss problems. · Sep 14, 2026
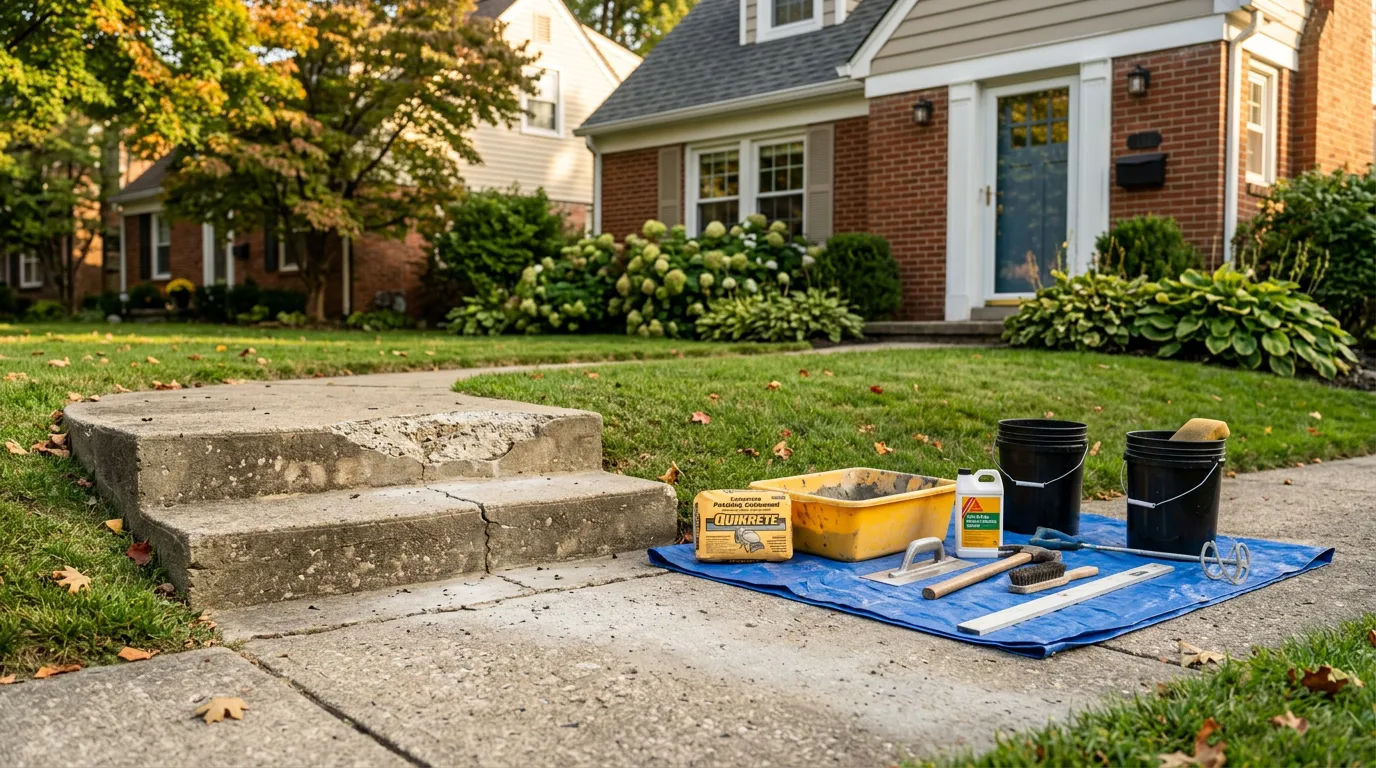
Concrete Step Repair Costs in Columbus: Prep for Freeze-Thaw
Columbus has frequent fall rain followed by early cold snaps; water that seeps into cracked steps expands during freeze-thaw cycles, accelerating spalling and trip hazards. · Sep 14, 2026
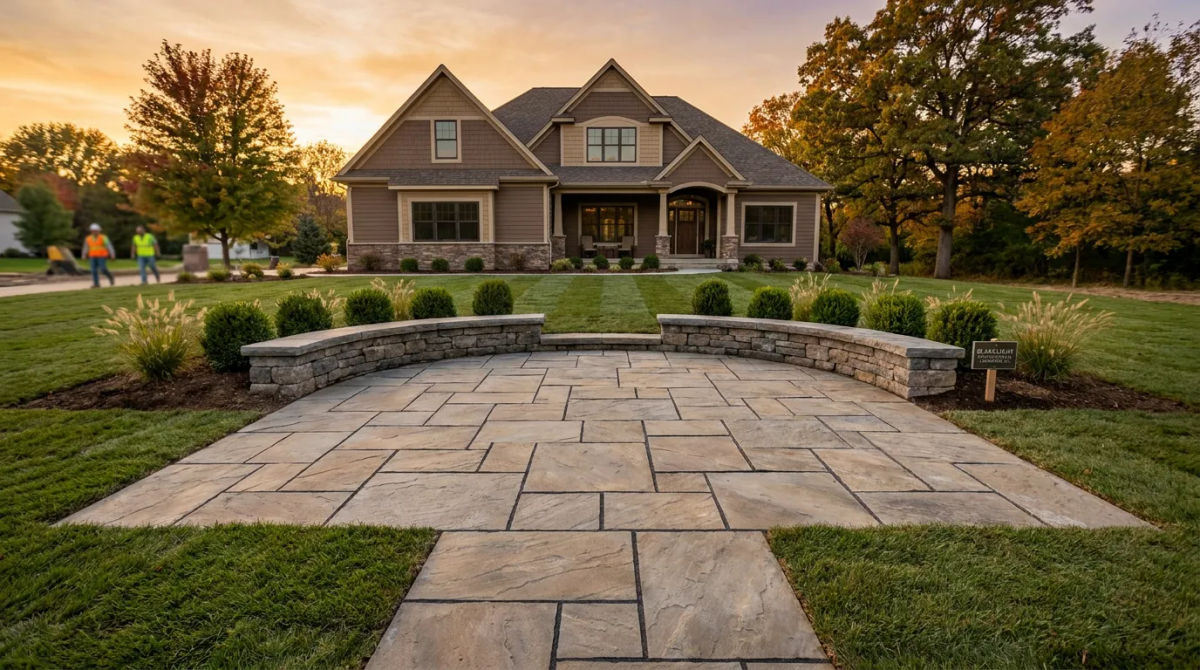
Case Study: Regrading a Columbus Yard to Stop Winter Ice Patches
In Columbus, repeated fall rains can saturate yards; when temps drop, leftover pooling becomes slick ice near walkways and driveways, creating safety risks and ongoing moisture problems. · Sep 14, 2026
12+
Years Experience
Our Difference
Why Choose Us
We provide comprehensive construction and landscape services throughout Columbus, backed by trained crews and proven project management systems. With 12 years of experience serving local property owners, we deliver organized workflows, transparent communication, and quality workmanship on every project.
Fast Response
Our team responds quickly to project inquiries and maintains efficient scheduling to keep your construction timeline on track.
Transparent Process
We provide detailed project estimates upfront and maintain clear communication throughout every phase of construction.
Quality Workmanship
Our experienced crews deliver reliable construction results, supported by 12 years of proven expertise and systematic quality standards.
Built Around Columbus
Our Work
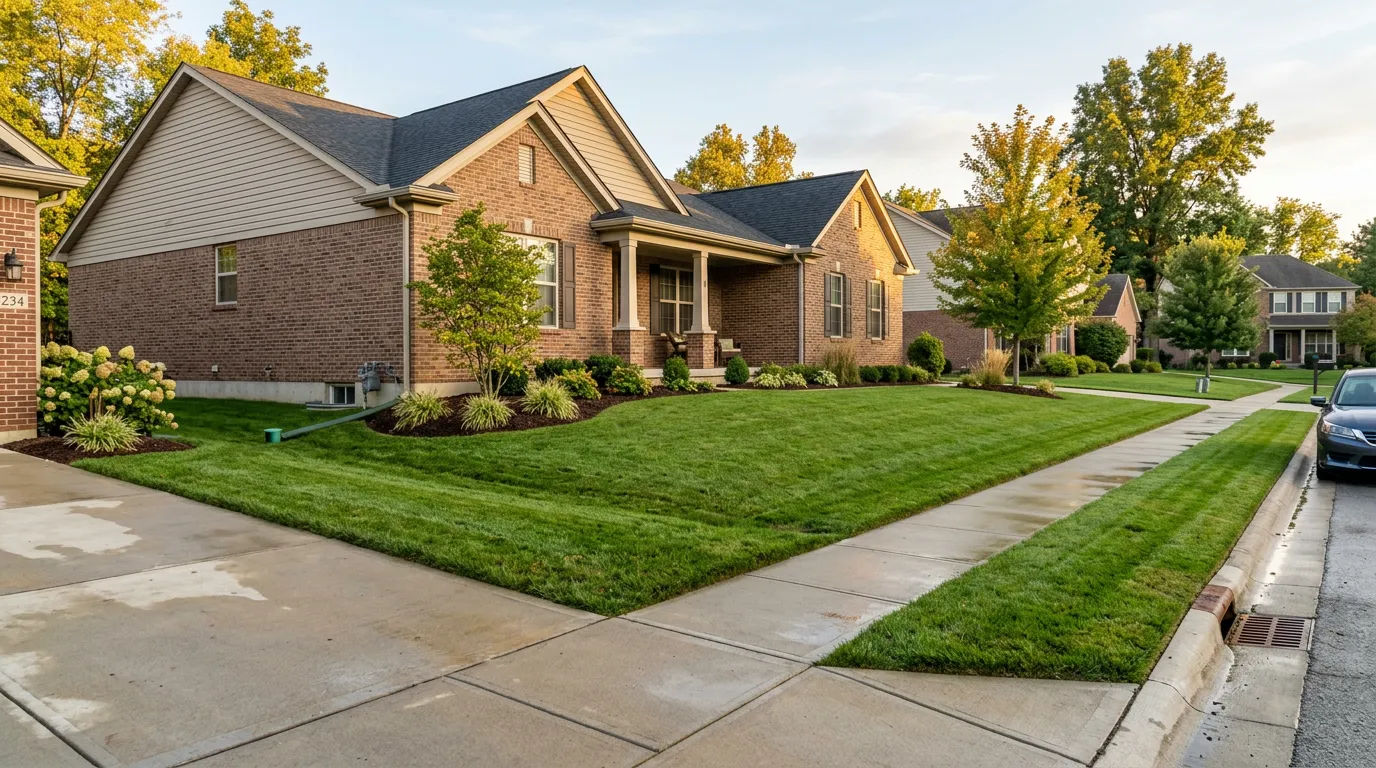
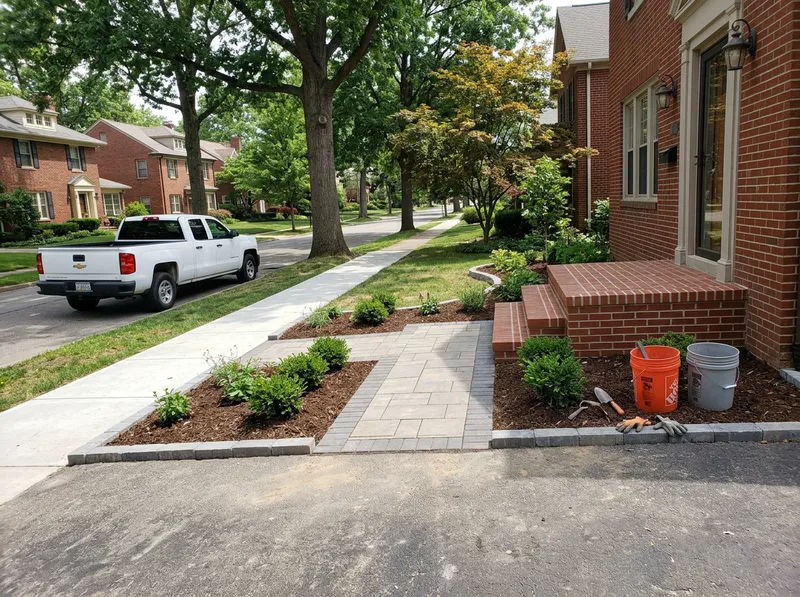
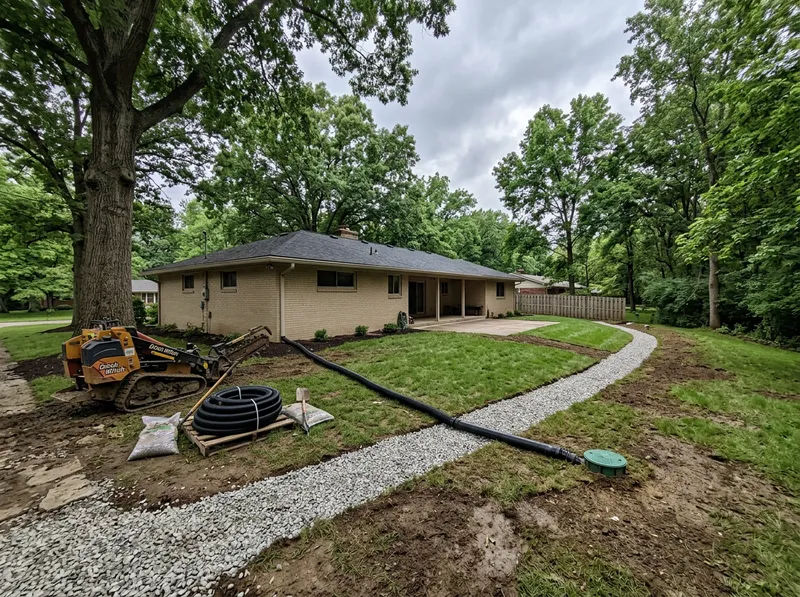
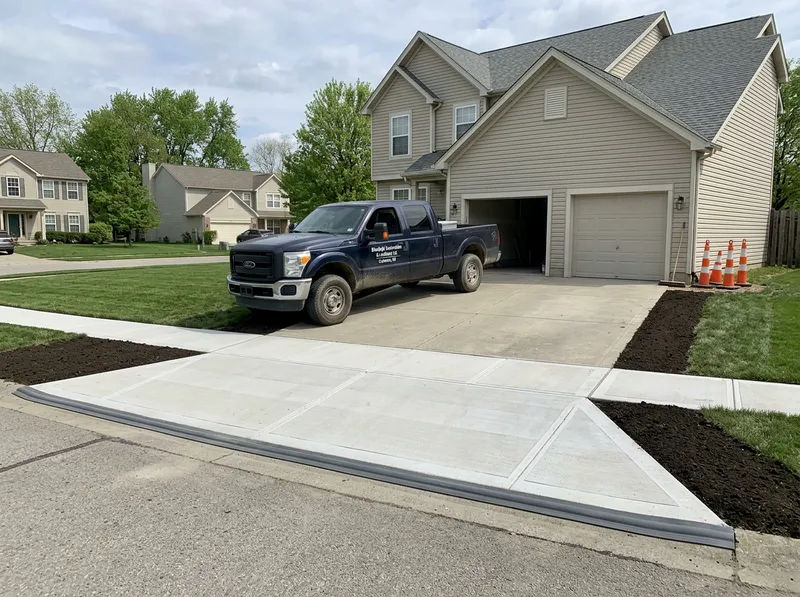
Take a look at recent Blacklight Construction & Landscape Llc projects across Columbus, OH. These are real job-site photos showing clean finishes, solid craftsmanship, and neighborhood-ready curb appeal.
Bexley
Riverlea
Grove City
Dublin
Ready to Get Started?
Get a free, no-obligation estimate from our trusted team.
Reviews
Trusted by Neighbors
“In Brice, they returned my call within an hour and had a crew on-site the same afternoon. The work moved quickly and they wrapped up without disrupting our schedule.”
“For our Whitehall project, the workmanship was consistent and the crew stayed professional the entire time. They kept the site tidy, protected the surrounding areas, and communicated clearly on what would happen each day.”
“In Pataskala, the pricing was straightforward and they walked me through options without pushing extras. They actually suggested the less expensive fix once they saw the issue in person, and the final invoice matched the estimate.”
Serving Columbus Neighborhoods:
We serve Columbus and the entire area with the same premium quality.
Resources
Insights & Tips
Case Study: Chimney Tuckpointing in Columbus Before Freeze-Thaw
As a project superintendent for **Blacklight Construction & Landscape Llc**, I’ve seen firsthand how the brutal Columbus freeze-thaw cycles can wreak havoc on masonry. Every autumn, we get calls from homeowners who notice small issues that could become major winter disasters. This was exactly the case last September when we received a call from a homeowner in a Delaware-area neighborhood. Their home, a beautiful two-story brick-and-siding house typical of the late 1990s, had a chimney that was starting to look a little worse for wear. During a fall gutter cleaning, the homeowner had spotted some crumbling mortar and was rightfully concerned about what the coming winter would do.
They knew that ignoring a potential chimney issue in Ohio is a gamble. Wind-driven fall rain can saturate porous mortar, and once temperatures drop, that trapped moisture freezes, expands, and acts like a wedge, blowing out mortar joints and even causing the face of the bricks to pop off - a process called spalling. They made the smart call and scheduled a comprehensive chimney inspection with **Blacklight Construction & Landscape Llc**.
## The Assessment
Our lead masonry technician, a specialist with years of experience, conducted the initial on-site assessment. The complex rooflines on these 2000s-era homes require careful maneuvering, and safety is always our first priority. Once securely on the roof, the true extent of the problem became clear, and the photos he sent back to me for review told the whole story.
The homeowner had only seen a few problem spots from the ground, but up close, we identified widespread mortar deterioration across more than 60% of the chimney structure. The joints were soft and sandy to the touch, a tell-tale sign that water had been infiltrating for several seasons. The side of the chimney facing the prevailing northwesterly winds was in the worst shape, showing early signs of spalling. It was clear that a simple patch job wouldn't suffice; this was a systemic failure that required a comprehensive **chimney tuckpointing Columbus** solution.
More importantly, we identified the root cause: the chimney crown. On many homes from this building era, the crown is little more than a thin layer of mortar sloped away from the flue. Over two decades, this original mortar wash had developed a network of hairline cracks. It was acting like a sponge, drawing water in and channeling it down behind the brick veneer, where it remained trapped. This is a common failure point we see, and it underscores the importance of a thorough inspection. This project was quickly becoming a perfect **chimney crown repair Columbus OH case study** for why proactive maintenance is critical.
I explained to the homeowner that if we didn't intervene, they were facing a near-certainty of accelerated damage over the winter. The cost of a **brick spalling repair before winter** was significant, but it was a fraction of what a partial or full chimney rebuild would cost in a year or two, not to mention the risk of water damage to the home’s interior structure.
## Our Solution
With the homeowner’s approval, we scheduled the work immediately. The goal was to complete the repairs and allow the new mortar ample time to cure before the first deep freeze. The **Blacklight Construction & Landscape Llc** approach is always about long-term durability, not quick fixes.
Our two-person expert masonry crew mobilized to the site with a clear, four-day plan:
- **Day 1: Setup and Preparation.** The first step was establishing a safe and efficient work zone. We erected full scaffolding around the chimney to provide stable access to all sides. We then meticulously draped heavy-duty tarps over the roof sections below the chimney and across the landscaping to protect the property from dust and debris. This is a standard procedure for every **Blacklight Construction & Landscape Llc** masonry project.
- **Day 2: Demolition and Grinding.** This is the most critical phase for achieving lasting **mortar joint repointing results**. Using angle grinders fitted with diamond blades and dust shrouds, our crew carefully ground out every failing mortar joint to a uniform depth of ¾ of an inch. This ensures the new mortar has enough mass to form a powerful, permanent bond. We also completely removed the old, cracked, and saturated chimney crown, exposing the top course of bricks.
- **Day 3: Tuckpointing and Crown Forming.** With the preparation complete, the rebuilding began. We used a high-quality, pre-blended Type N mortar, which has the ideal compressive strength and flexibility for brick veneer structures like this one. Our masons skillfully packed the fresh mortar into the joints, compressing it to eliminate any voids. They then finished each joint with a concave profile, a shape designed to effectively shed water and resist future moisture intrusion. Concurrently, we built a wooden form around the top of the chimney to pour a new, proper concrete crown. Our form included a 2-inch overhang and a drip edge - a small but vital detail that directs water away from the brick face.
- **Day 4: Crown Pour and Final Seal.** We poured a 4-inch thick, steel-reinforced concrete crown. After it had set, we troweled it to a smooth, sloped finish. As a final belt-and-suspenders measure, once the concrete was fully cured, we applied a coat of CrownSeal, a flexible, elastomeric waterproof membrane that seals the entire surface against the elements. This multi-step process for a **chimney crown repair Columbus OH case study** guarantees a level of protection the original construction never had.
## The Results
The transformation was both aesthetic and functional. Before we started, the chimney looked aged and vulnerable, with crumbling mortar that detracted from the home's otherwise pristine appearance. After our team was finished, the chimney stood tall and sharp. The new, consistent mortar joints gave it a clean, robust look, and the new concrete crown provided a formidable capstone.
The homeowner was thrilled. They expressed immense relief knowing they were heading into winter with a fully restored, water-tight chimney. They noted how professional and tidy our crew was throughout the process, leaving the property cleaner than they found it. Most importantly, they now had peace of mind. By investing in a proper **chimney tuckpointing Columbus** service, they had protected their home's value and structural integrity.
From a technical standpoint, the **mortar joint repointing results** were excellent. The new joints were impermeable to water, and the overhanging drip edge on the crown was already actively preventing water streaks down the brick face after the first rain. The homeowner successfully avoided a costly **brick spalling repair before winter** became an emergency, saving themselves thousands in potential future costs and preventing a major source of stress. This project is a testament to what we do at **Blacklight Construction & Landscape Llc**: deliver durable, high-quality solutions that protect our clients' most valuable asset.
## Conclusion
Your chimney is one of the most exposed parts of your home, constantly battling rain, wind, and ice. The story of this Delaware home is a common one, but the outcome doesn't have to be a costly emergency repair. A small concern, when addressed proactively by a team of professionals, can prevent a catastrophic failure.
If you see crumbling mortar, cracked bricks, or a deteriorating chimney crown, don't wait for the next storm or freeze to show you how bad the problem really is. Take control of the situation now.
Ready for your own **Blacklight Construction & Landscape Llc** experience? Contact us today for a free inspection.
Read More
Window Caulking & Weatherstripping Costs in Columbus Before Winter
As a project superintendent with over a decade of experience on job sites across Columbus, I know that when homeowners start thinking about fall maintenance, one question comes first: "What is this going to cost?" It's a fair question, and getting a straight answer can be frustrating. My goal here is to give you a transparent, no-nonsense guide to budgeting for exterior window caulking and door weatherstripping, so you can protect your home from the coming winter without any financial surprises.
Prepping your home for the cold isn't just about comfort; it's about preventing costly moisture damage and saving on energy bills. Those small gaps around your windows and doors might seem minor now, but once Central Ohio’s windy, damp fall weather arrives, they become major entry points for cold air and moisture. Let's break down the realistic costs and what drives them.
## Average Costs in Columbus
When you request a **fall home weatherization estimate**, the price will depend on the specific services you need. For most homeowners in the Columbus area, the focus is on sealing windows and doors. Here are some realistic price ranges you can expect from a professional, insured contractor.
- **Professional Window Caulking:** The **window caulking cost** typically ranges from **$50 to $150 per window**. This involves removing old, failed caulk, cleaning the surface, and applying a new, high-quality sealant. A small, ground-floor window will be on the lower end, while a large, second-story window requiring ladder work will be on the higher end.
- **Exterior Door Weatherstripping:** The **exterior door weatherstripping cost Columbus** homeowners can expect is usually between **$100 and $250 per door**. This includes removing the old, compressed seals from the door jamb and threshold, cleaning the channels, and installing new, durable weatherstripping to create a tight seal.
- **Minimum Project Fees:** It's important to know that most professional construction companies have a minimum service fee for a project, often ranging from **$300 to $500**. This covers the cost of mobilizing a trained crew, equipment, and insurance for even a small job. This is why it’s often more cost-effective to bundle several tasks into one visit rather than calling for a single window repair.
## Factors That Affect Price
The price ranges above are a good starting point, but the final quote can be influenced by several factors. On every job site, our technicians assess these variables to provide an accurate price. Understanding them will help you evaluate any estimate you receive.
1. **Scope and Scale:** The most obvious factor is volume. Sealing 20 windows will cost more than sealing five. However, the per-unit cost often decreases with a larger project, as the crew is already on-site and working efficiently.
2. **Accessibility:** A single-story ranch home with easily accessible windows will have a lower labor cost than a two-story home that requires our crews to use tall ladders or specialized lifts. Safety precautions and the extra time needed for setup on higher stories will increase the overall **air leak sealing around windows price**.
3. **Condition and Prep Work:** This is a big one. If the existing caulk is old, brittle, and baked-on, it requires significant labor to scrape and remove it properly. Simply caulking over the old material is a recipe for failure. If we discover soft or rotted wood trim around a window or door frame during our inspection, it must be repaired or replaced before new sealant can be applied. This necessary repair will add to the project cost but is critical for a lasting solution.
4. **Building Era and Style:** The age and architectural style of your home play a role. For instance, many homes in Columbus suburbs like Dublin were built in the 1990s and 2000s. These neo-eclectic homes often feature complex window arrangements, bay windows, and mixed materials like brick, stone, and siding on the same wall. Each material transition requires a specific type of sealant and application technique, which demands more skill and time from the crew compared to a simple vinyl-sided home.
5. **Quality of Materials:** You can buy a cheap tube of acrylic latex caulk for a few dollars, but it may crack and fail within a year or two. Our professional crews use commercial-grade elastomeric or polyurethane sealants. These materials cost more upfront but remain flexible through extreme temperature changes, adhere better to various surfaces, and can last for 10 years or more. The material cost is a small part of the total price, but investing in quality here prevents you from having to do the job all over again in the near future.
## How to Get the Best Value
Getting the best value isn’t about finding the cheapest price; it's about getting a durable, high-quality result that you won’t have to worry about for years. Here are a few tips from my experience in the field.
- **Act in the Early Fall:** September and October are the ideal months for this work in Ohio. The weather is typically mild and dry, which is perfect for the sealant to cure properly. Waiting until November risks cold, damp conditions that can compromise adhesion. Plus, you’ll get the work done before you start losing expensive heated air through the gaps.
- **Bundle Your Projects:** Since contractors have minimum fees, it’s smart to address all your weatherization needs at once. Have all your windows inspected and sealed, and get all your exterior doors done at the same time. This maximizes the efficiency of the crew and gives you a better return on your investment.
- **Understand the Estimate:** A quality contractor will provide a detailed, itemized estimate that breaks down the costs for labor and materials. At our company, we believe this transparency is crucial. It allows you to see exactly what you're paying for and helps you compare a professional job against the true costs of a DIY attempt (materials, tools, and your own valuable time).
- **Prioritize Problem Areas:** If your budget is tight, focus on the most critical areas first. This is usually the side of the house that faces the prevailing winds or gets the most direct rain. Sealing these vulnerable spots first will give you the biggest immediate improvement in comfort and protection.
## Questions to Ask Your Contractor
Before you hire anyone, you should feel confident in their expertise and process. A true professional will be happy to answer your questions. Here are a few I recommend asking:
- What specific type of sealant do you recommend for my home's siding/brick/trim, and why?
- What is your process for removing the old caulk and preparing the surface?
- Is the removal of old material included in the quoted price?
- How do you handle unforeseen issues, like discovering rotted wood?
- Can you provide proof of insurance and any warranties on your work?
Their answers will tell you a lot about their knowledge and commitment to quality. A contractor who emphasizes thorough preparation and uses high-quality materials is one who cares about the long-term performance of their work.
Protecting your home's exterior is one of the smartest investments you can make before winter sets in. It improves your family's comfort, reduces energy consumption, and prevents small gaps from turning into major moisture problems. By understanding the costs and what defines a quality job, you can make a confident, informed decision for your home.
For a personalized and detailed **fall home weatherization estimate** in the Columbus area, contact Blacklight Construction & Landscape Llc for a free consultation. We're happy to walk your property and provide a clear, itemized plan.
Read More
Concrete Step Repair Costs in Columbus: Prep for Freeze-Thaw
As a project superintendent, one of the first questions homeowners ask me is, “What’s this going to cost?” It’s a completely fair question. When you see cracks in your front steps or an uneven sidewalk slab, your mind immediately jumps to the budget. The goal of this guide is to give you a transparent look at concrete repair costs here in Columbus, OH, so you can plan effectively, especially with winter on the way.
Fall is the critical season for concrete assessment. The frequent rain we get in Columbus, followed by those early cold snaps, creates a perfect storm for damage. Water seeps into existing cracks, and when it freezes overnight, it expands with incredible force. This freeze-thaw cycle is the primary culprit behind spalling, widening cracks, and creating serious trip hazards. Addressing these issues now, before the ground freezes solid, is the most cost-effective approach.
## Average Costs in Columbus
Let's break down some realistic price ranges. Please keep in mind these are estimates. The final price depends on the specific factors of your project, which we'll cover in the next section. When budgeting for **concrete sidewalk repair cost Columbus OH**, these figures provide a solid starting point.
- **Minor Crack Sealing:** For small, non-structural cracks (less than 1/4 inch wide), you can expect to pay **$300 - $800**. This involves cleaning the crack and filling it with a professional-grade, flexible sealant to prevent water intrusion. This is a preventative measure to stop the freeze-thaw cycle from causing more significant damage.
- **Concrete Resurfacing or Patching:** If you have surface-level damage like spalling or shallow pitting, but the underlying slab is still sound, resurfacing is an option. This typically costs **$5 - $10 per square foot**. Our technicians would grind down the damaged surface and apply a new polymer-modified concrete overlay.
- **Concrete Step Repair:** For a single damaged step, a repair involving patching and resurfacing might cost **$400 - $900**. However, if the damage is structural, replacement is the only safe option. Replacing a single concrete step usually starts around **$600 - $1,200**, as it involves demolition, forming, and pouring new concrete.
- **Full Front Porch Step Replacement:** For a complete tear-out and replacement of a small set of 3-4 steps, a **front porch step replacement estimate** would typically fall between **$2,500 and $6,000**. Larger, more complex staircases with landings or intricate railings can exceed **$8,000** or more. This is a common project for homes built in the 1990s and 2000s, where builder-grade front steps are now reaching the end of their lifespan.
- **Sidewalk Section Replacement:** Replacing a single 4'x4' or 5'x5' sidewalk panel that has heaved or cracked beyond repair generally costs **$600 - $1,500**. This includes demolition of the old slab, hauling it away, preparing the base, and pouring the new section.
## Factors That Affect Price
From my experience on job sites across the Columbus area, no two projects are identical. The price ranges above can shift based on several key variables. An organized crew can work efficiently, but these factors fundamentally define the scope of work.
- **Scope and Severity of Damage:** This is the biggest driver. A simple surface patch is vastly different from a full demolition and replacement. We always assess if the issue is cosmetic or structural. A structural failure, like a sinking or severely cracked foundation for the steps, requires a much more intensive and costly repair.
- **Site Accessibility:** Can our equipment get close to the work area? A front sidewalk with direct street access is easier and therefore less costly to work on than a backyard patio that requires our crews to use wheelbarrows and manual labor to transport materials and debris.
- **Demolition and Debris Removal:** Breaking up and hauling away old, heavy concrete is labor-intensive. The cost is influenced by the thickness of the concrete and whether it contains rebar reinforcement. This is a line item you should always see on a detailed estimate.
- **Sub-base Preparation:** This is where quality really counts. Simply pouring new concrete over poorly compacted soil is a recipe for failure. Many homes I see in areas like Pataskala, built during the boom of the late 90s and early 2000s, sometimes suffer from inadequately prepared sub-bases. We often need to excavate poor soil and install a new, compacted gravel base to ensure proper drainage and prevent future heaving or sinking. This extra step adds cost upfront but saves you from redoing the work in a few years.
- **Materials and Finish:** The standard 4000 PSI concrete mix is suitable for most residential applications. However, using higher-strength mixes, adding fiber mesh for reinforcement, or applying decorative finishes like stamped patterns or colors will increase the material cost. A standard broom finish is the most cost-effective and provides good traction.
- **Permits and Inspections:** For work on public sidewalks (the portion in the public right-of-way) or large structural changes, a permit from the city may be required. This involves fees and potential inspections, which will be factored into the overall cost.
## How to Get the Best Value
Getting the best value doesn't always mean picking the lowest price. It means investing in a durable repair that solves the problem for the long term. Here are some practical tips.
- **Act on Problems Early:** That hairline crack you see this fall is an open invitation for water. Addressing it now is a simple fix. The **freeze-thaw concrete crack repair pricing** for a small job is minimal compared to the cost of replacing an entire section of concrete that has been destroyed by ice expansion over a winter or two.
- **Bundle Your Projects:** If you have a cracked step and a sinking sidewalk panel, have them repaired at the same time. Our crews are already mobilized to your site with equipment and materials. Combining jobs saves on setup and delivery costs, reducing the overall price compared to tackling them as two separate projects.
- **Prioritize Sub-Base Preparation:** When comparing estimates, ask specifically about the sub-base. A contractor who plans to just pour concrete on top of existing dirt is offering a cheaper, but temporary, solution. A quality job includes a properly graded and compacted aggregate base. This is the foundation of a long-lasting repair.
- **Schedule During the Shoulder Season:** Fall is an ideal time to get a site visit and a written estimate. You can lock in scheduling before the first deep freeze. This allows you to budget and get the work done without competing with the spring rush when everyone is trying to fix the damage winter left behind.
## Questions to Ask Your Contractor
To ensure you're hiring a professional who will do the job right, here are a few questions I recommend every homeowner ask:
- How will you prepare the sub-base beneath the new concrete?
- Does your estimate include all costs for demolition, material, labor, and debris removal?
- What strength of concrete (PSI) do you use for steps and sidewalks?
- Are your crews insured, and are you licensed to work in Columbus?
- What is the estimated timeline for my project, from start to finish?
- How do you protect my lawn, landscaping, and home during the construction process?
Asking these questions helps you gauge a contractor's expertise and commitment to quality. A reputable professional will have clear, confident answers.
Taking care of your home’s concrete is about more than just curb appeal; it’s about safety and protecting your property’s value. By understanding the costs and the factors that influence them, you can make a smart, informed decision. Acting now, before the harsh Columbus winter sets in, will save you headaches and money down the road.
For a personalized **concrete step repair** estimate in the Columbus area, contact Blacklight Construction & Landscape Llc for a free consultation. We’re happy to come out, assess the situation, and provide a detailed plan and quote.
Read More
Case Study: Regrading a Columbus Yard to Stop Winter Ice Patches
As a Project Superintendent for **Blacklight Construction & Landscape Llc**, I’ve seen firsthand how a seemingly small issue can become a major headache for a homeowner. That was exactly the case when we received a call from a family in New Albany this past September. They lived in a beautiful, stately Georgian Revival home, the kind built in the late 1990s that defines the neighborhood’s character. But every winter, they faced the same recurring, dangerous problem: a treacherous sheet of ice that would form along their driveway and near the front walkway.
They had tried everything - salt, sand, even heated mats - but nothing addressed the root cause. The water would pool after every fall rain or snowmelt, and as soon as Columbus temperatures dropped below freezing, it created a slick, hazardous zone right where their family walked every day. They were worried about a slip-and-fall accident, but they were also growing concerned about the constant moisture lingering near their home's foundation. They knew they needed a permanent **drainage grading fix for icy driveway** before another winter arrived, and that’s when they reached out to us at **Blacklight Construction & Landscape Llc**.
## The Assessment
When my team and I arrived on-site for the initial inspection, the problem became clear within minutes. The home itself was immaculate, a testament to the curated design of the New Albany area. However, over two decades, the ground around the foundation and driveway had settled. This is a common occurrence in homes of this era, but the consequences can be significant. Instead of sloping away from the structure, the yard now had a slight but critical negative grade, channeling water directly *towards* the house and the paved surfaces.
We used a laser level to get precise measurements. In several key areas, we found the ground was pitched back towards the foundation by as much as 1.5%. This created a low-lying basin where water had nowhere to go. During our walk-through, the homeowner pointed out patches of thin, struggling grass and perpetually damp soil - classic signs of poor drainage. This wasn't just an aesthetic issue; it was a perfect recipe for the **standing water near foundation solution** they desperately needed. Constant saturation can compromise foundation integrity, lead to basement leaks, and damage expensive hardscaping. We explained that the only real solution was to correct the grade itself, physically reshaping the landscape to control the flow of water. The client was relieved to finally have a clear diagnosis and a concrete plan of action from a team that understood the science behind the problem.
## Our Solution
With winter on the horizon, timing was critical. We scheduled this **fall yard grading project Columbus OH** for late September, which is the ideal window for this type of work. The soil is still warm and workable, allowing for proper compaction, and any new seeding or sod has time to establish roots before the first frost. Our goal at **Blacklight Construction & Landscape Llc** is always to provide a lasting solution with minimal disruption.
Our 5-person crew began the project by carefully mapping out the work area. Protecting the client’s existing pristine landscape and brickwork was a top priority. The process followed our standardized workflow for excellence:
1. **Site Preparation:** We cordoned off the work zone and laid down protective boards for our equipment to travel on, preventing any damage to the driveway or surrounding lawn.
2. **Sod Removal:** Using a sod cutter, we carefully removed the healthy turf in long, neat strips. We preserved this sod to be reinstalled later, which is a cost-effective and sustainable approach that helps the yard recover much faster.
3. **Grading with Precision:** This is where the expertise of **Blacklight Construction & Landscape Llc** truly shines. Our operator, using a compact track loader, began sculpting the earth. We brought in several cubic yards of high-quality, screened topsoil to build up the low spots. Guided by constant checks with our laser level, we methodically established a consistent, positive grade of 2-3% sloping away from the foundation and driveway. This gentle, almost unnoticeable slope is all that’s needed to use gravity to our advantage and direct water towards the street.
4. **Compaction and Final Shaping:** We compacted the new soil in layers, or "lifts," to prevent future settling. This is a critical step that many less-experienced contractors skip, but it’s essential for a long-term fix. Our crew then did the final shaping with hand rakes, ensuring a smooth, seamless transition into the rest of the yard.
5. **Reinstallation and Cleanup:** Finally, we re-laid the preserved sod, fitting it together tightly. We watered it thoroughly to help the roots take hold. Our team finished with a meticulous site cleanup, blowing off the driveway, washing down any dusty surfaces, and leaving the property looking better than when we arrived.
The entire project was completed in just three days. The homeowner was impressed by the efficiency and professionalism of our crew, and how we managed to perform what seemed like major earthwork with surgical precision.
## The Results
The transformation was both subtle and profound. Visually, the lawn looked as perfect as it did before, with the only difference being a slight, expertly-crafted contour. The true test, however, came with the fall rains that followed a week later. The homeowner called me, excited to report that for the first time, water was flowing exactly as it should - away from the house, off the driveway, and down to the storm drain at the curb. There was no pooling, no saturated soil, and no marshy patch near the foundation.
By undertaking this **yard regrading Columbus** project, we delivered more than just dry ground. We provided:
- **Enhanced Safety:** The primary concern of a dangerous icy driveway was completely eliminated, giving the family peace of mind for the coming winter and all winters to follow.
- **Foundation Protection:** By redirecting water away from the home, we mitigated the risk of long-term hydrostatic pressure and moisture intrusion, protecting their significant investment.
- **Improved Curb Appeal:** A healthy, well-drained lawn is a beautiful lawn. By solving the drainage issue, we ensured the turf in that area would thrive instead of struggle.
- **A Lasting Solution:** This wasn't a temporary patch. The professional grading done by **Blacklight Construction & Landscape Llc** is a permanent fix that has added tangible value and durability to their property.
This project is a perfect example of how **Blacklight Construction & Landscape Llc** approaches every job: with a diagnostic eye, a detailed plan, and a commitment to doing things the right way. We don't just treat symptoms; we solve the underlying problem to deliver results that last.
Ready for your own **Blacklight Construction & Landscape Llc** experience? Contact us today for a free inspection.
Read More
Get Your Free Estimate
No pressure. No obligation. Just an honest assessment from a team you can trust.